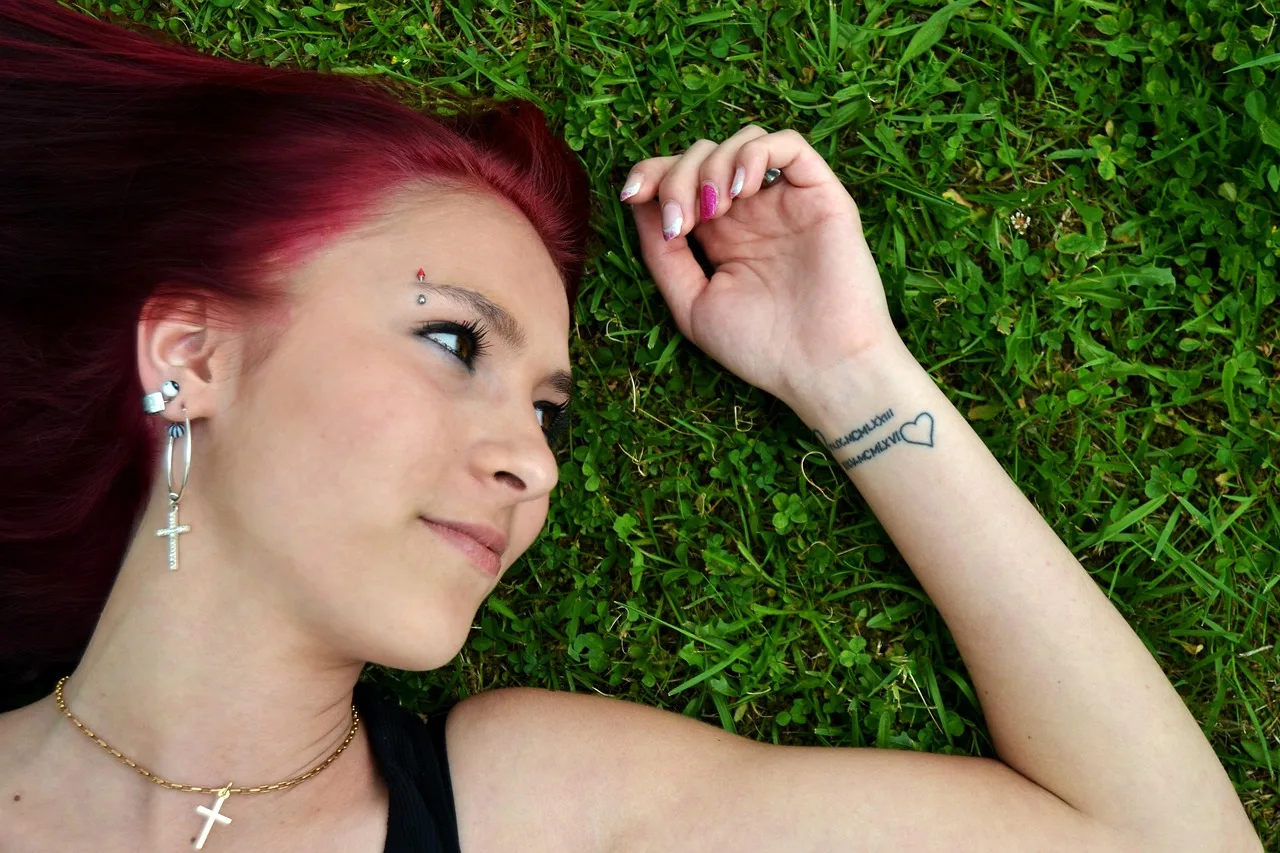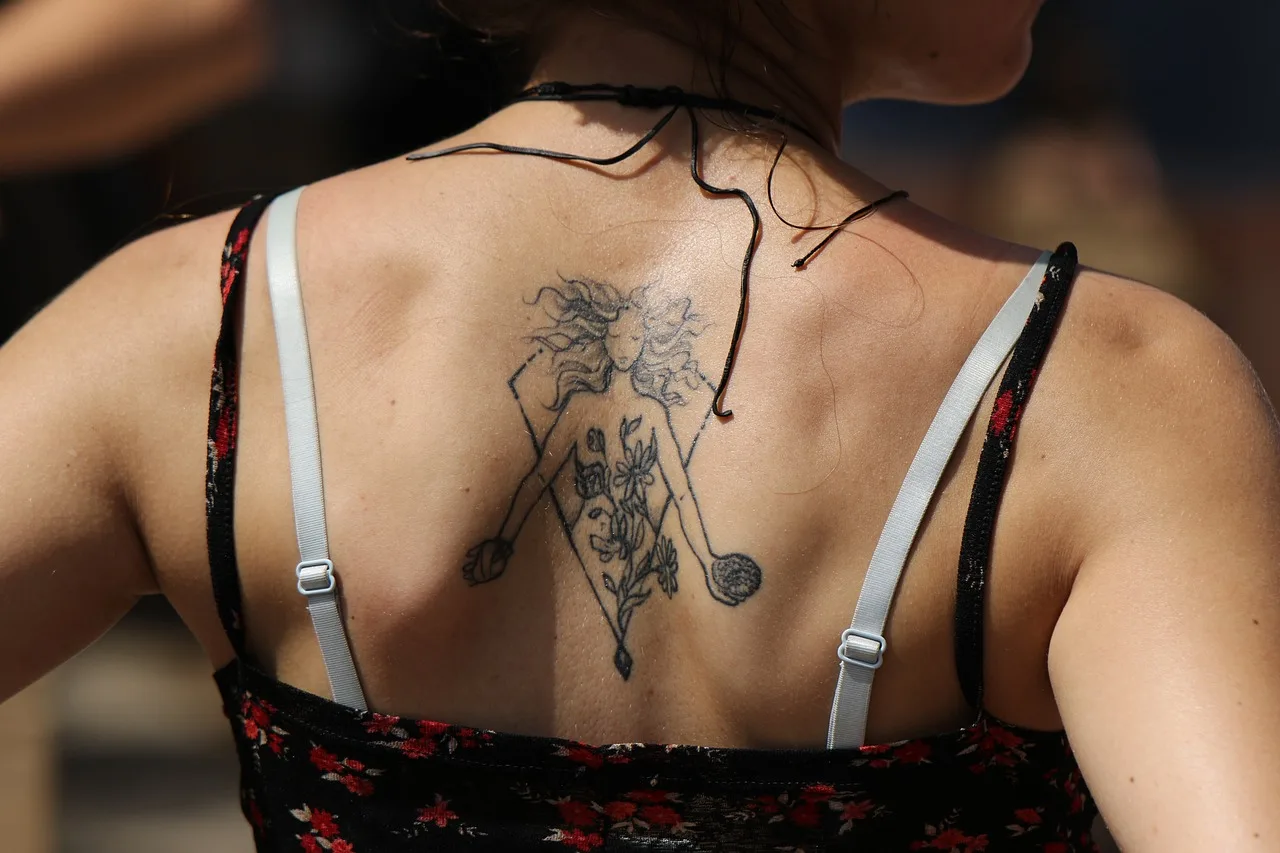
Introduction
— Graphics-style tattoos (blackwork, geometric, linework, dotwork) rely on crisp lines, high contrast and precise shading. Their longevity depends as much on application and aftercare as on the removal or correction options later.
— This guide walks you through the full life cycle of a graphics tattoo with practical, localized advice for Omsk residents: choosing a studio, the procedure, healing, fixing problems, and safe removal options.
1. Choosing an artist and studio (Omsk-specific tips)
— Portfolios: Look for clear, recent photos showing healed work (not just fresh photos). For graphics style, evaluate crispness of lines, even black fills, and consistent dots/geometry.
— Hygiene & licensing: Ask to see the studio’s permits and the artist’s certificates. A reputable Omsk studio should use single-use needles and disposable ink caps, and have an autoclave for reusable metal tools.
— Meet first: Schedule a consultation—discuss design scale, placement, and skin type. Reliable artists will offer a stencil trial and honest advice on how the piece will age.
— Local research: Use Instagram portfolios, VK communities, and local word-of-mouth. Read recent reviews and, if possible, visit studios to inspect cleanliness and sterilization practices in person.
— Price vs. value: Extremely cheap work often cuts corners on hygiene or experience. For high-precision graphics tattoos, pay for an experienced hand.
2. Prepping for a graphics tattoo
— Skin health: Avoid sunburn, active rashes, or recent sunbathing on the area. Hydrate skin in the days before and avoid alcohol or blood-thinners 24–48 hours prior.
— Consult on medications and conditions: Tell the artist about any medical conditions, medications (blood thinners, isotretinoin), or previous keloid history.
— Design placement: Graphics tattoos require tension and flat planes for crisp lines—some body parts (e.g., stomach, inner bicep) are more challenging. Discuss size and negative space to preserve clarity as skin moves with age.
3. Application techniques for clean, lasting graphics work
— Stencil and stretch: A clear, properly placed stencil and steady skin stretch are essential for crisp linework.
— Tools: Many artists prefer fine liners and rotary machines for even, consistent lines; shader groupings or magnums for bold black fills. Needle choice depends on line thickness and dotwork technique.
— Layering & contrast: Deep black fills and controlled negative space create the graphic effect. Experienced artists apply smooth, even passes rather than overworking skin.
— Pace: A good artist balances speed and precision—too fast risks blowouts; too slow risks over-trauma.
4. Safety & infection control
— Universal precautions: Studio should use gloves, single-use needles, sterile work surfaces, and new disposable ink caps. Instruments that are reusable must be autoclaved.
— Consent and documentation: You should sign a consent form that explains risks, aftercare, and artist contact info.
— Bloodborne risks: Proper technique prevents infections and cross-contamination. If you notice fever, spreading redness, or unusual drainage after a tattoo, see a doctor promptly.
5. Aftercare: timeline and checklist
Immediate (first 24–48 hours)
— Bandage: Follow the artist’s instructions—some recommend 1–3 hours, others longer. Remove with clean hands.
— Clean: Gently wash with mild, fragrance-free soap and lukewarm water; pat dry.
— Ointment: Use a thin layer of recommended aftercare ointment or fragrance-free moisturizer for the first few days.
Days 3–14
— Avoid soaking: No baths, saunas, swimming pools, or hot tubs until the tattoo is fully healed.
— Avoid direct sun: Keep covered; use SPF once the tattoo is healed (see below).
— Don’t pick scabs: Let flaking happen naturally to avoid scarring and loss of pigment.
Weeks 2–6
— Moisturize: Continue with gentle moisturizers to maintain elasticity and color retention.
— Sun protection: After healed (~3–4 weeks), apply broad-spectrum SPF 30+ to prevent fading.
Full maturation
— A tattoo settles over 3–6 months. Final color, contrast and edge sharpness continue to evolve during this period.
6. Signs of complications—when to see a professional
— Infection: Increasing pain, spreading redness, hot to touch, fever, or pus—see a doctor immediately.
— Allergic reaction: Persistent rash, blistering, or swelling beyond the expected healing window—consult a dermatologist.
— Hypertrophic scar/keloid: Raised excessive scar tissue—refer to a dermatologist before pursuing corrective tattoo work.
— Blowout or poor healing: Soft, blurry lines (blowout) or disproportionate fading—consult your artist for a touch-up or corrective plan.
7. Correction and modification
— Touch-ups: The simplest correction. Wait until the tattoo is fully healed (usually 3+ months) before booking a touch-up.
— Color saturation and line sharpening: Experienced artists can re-line and saturate black areas, or refine dotwork to restore contrast.
— Cover-ups: Graphics styles can be covered if the new design is larger and strong in contrast. Dark blackwork often works well to mask older designs but requires expert planning.
— Scarred areas: Scar tissue accepts ink differently; some artists specialize in scar camouflage or recommend medical options first.
8. Removal options (what works best for graphics tattoos)
— Laser removal (most common)
— Types: Q